(depreciated) Install the old Tuya Home Assistant Integration
Adding Tuya to your Home Assistant instance can be done via the user interface, by taking the following steps:
- Browse to your Home Assistant instance.
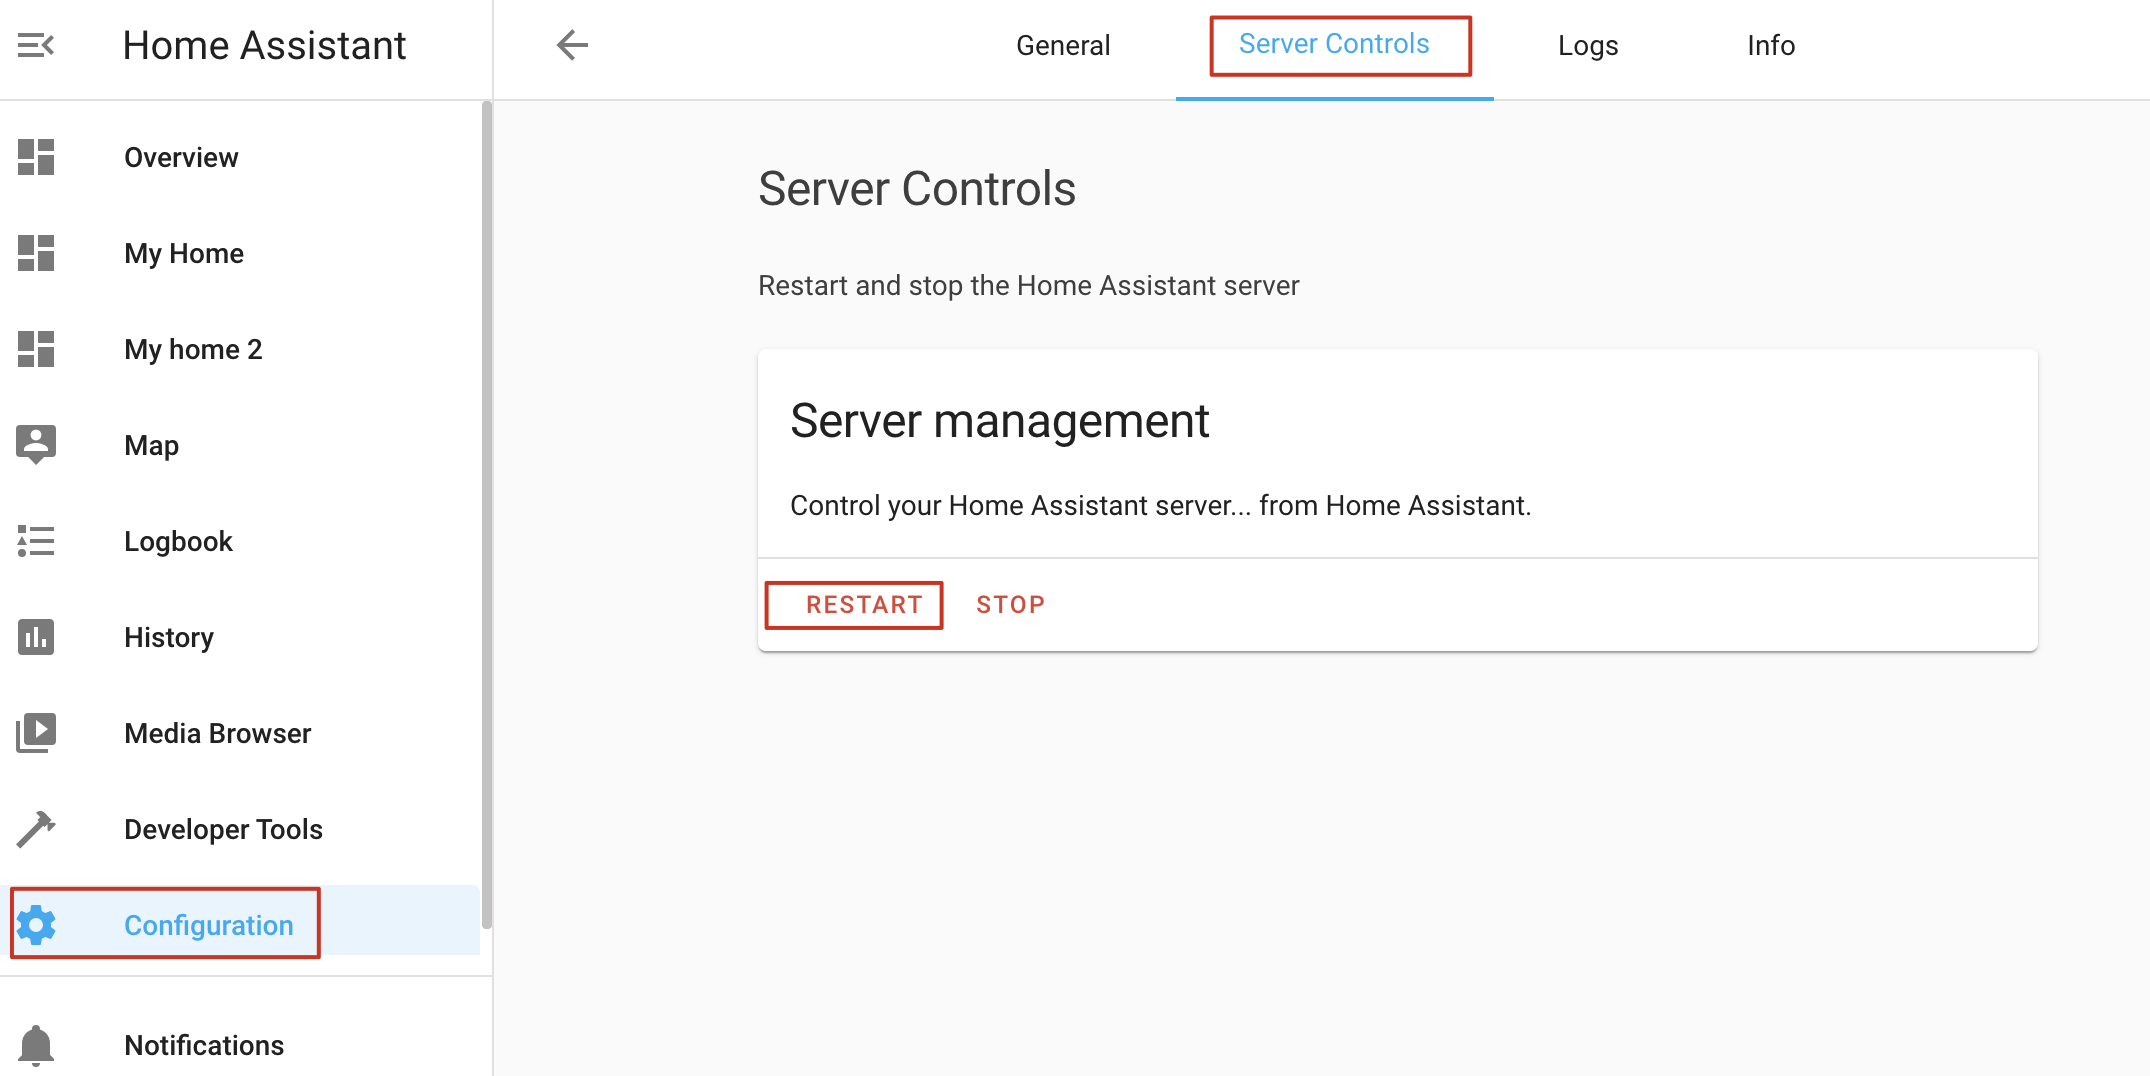
- In the sidebar click on Configuration.
- From the configuration menu select: Integrations.
- In the bottom right, click on the Add Integration button.
- From the list, search and select “Tuya”.
- Follow the instruction on screen to complete the set up.
After completing, the Tuya integration will be immediately available for use.
During configuration, be careful to select the country code and the platform corresponding to those used by you in the app. Once configuration flow is completed, the devices configured in your app will be automatically discovered.

Additionally, if your username or e-mail address isn’t accepted, please try using your phone number (minus the country code) as your username.
Ref
- https://developer.tuya.com/en/docs/iot/Home-assistant-tuya-intergration?id=Kb0eqjig0utdd
- https://www.home-assistant.io/integrations/tuya/
Install the New Tuya Home Assistant integration (Tuya v2)
Tuya Home Assistant Integration Installation
# If install HA core on OS
$ sudo -u homeassistant -H -s
# enter /home/homeassistant/.homeassistant

$ git clone https://github.com/tuya/tuya-home-assistant.git
$ mkdir custom_components/tuya
$ mv tuya-home-assistant/custom_components/* custom_components
$ rm -rf tuya-home-assistant
Restart Home Assistant
You can restart the Home Assistant server in Configuration > Server Controls > RESTART.

Set up the Tuya Integration
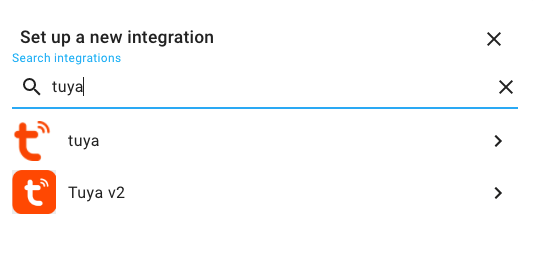
In Configuration > Integrations > ADD INTEGRATION, search for the keyword tuya and select Tuya v2.

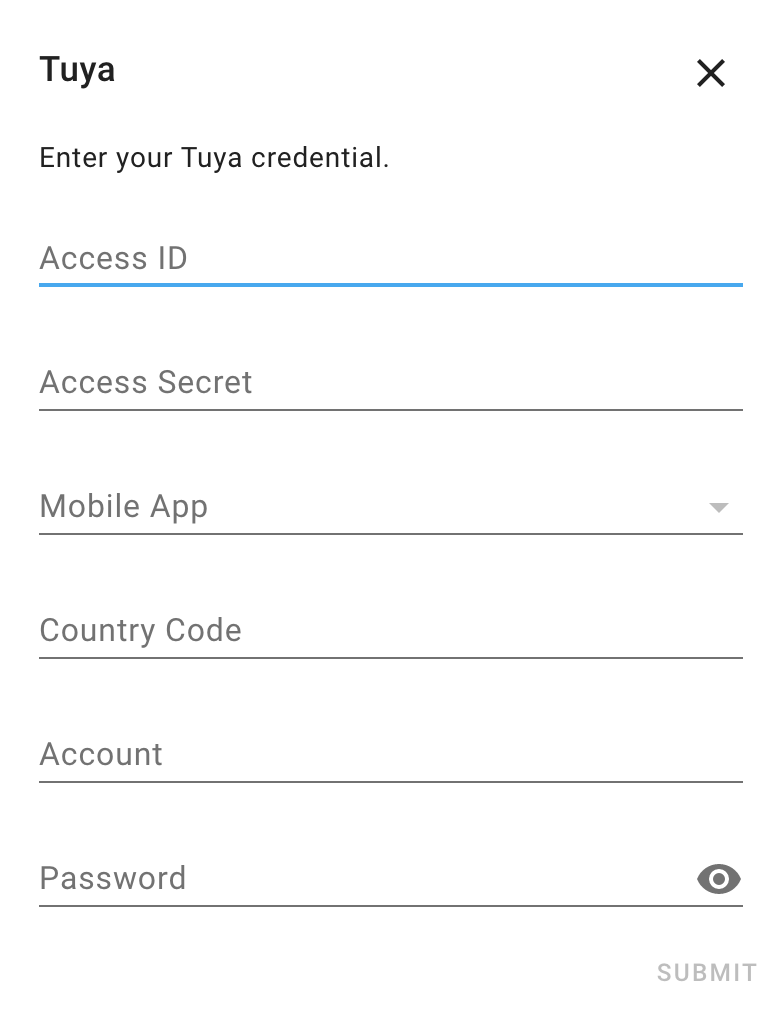
Enter your Tuya credential
In the Tuya Integration window, select Smart Home PaaS and click SUBMIT.

Ref
- https://developer.tuya.com/en/docs/iot/Home_Assistant_Integration?id=Kamcjcbvk2mu8
- https://github.com/tuya/tuya-home-assistant/
- https://github.com/tuya/tuya-home-assistant/wiki
- https://github.com/tuya/tuya-home-assistant/wiki/Install-Tuya-v2?_source=d10de34623e3daca5b02e3c31528a0c4
Misc
How to Connect Tuya devices
- 关闭设备
- 打开设备
- 长按5s电源键,直到指示灯快速闪烁,再长按5s电源键,直到指示灯慢闪
How to Debug
Add the following to your configuration.yaml file:
logger:
  default: debug
  logs:
    custom_components.tuya_v2: debug
Then you can get the log from home-assistant.log
Troubleshooting
request time is invalid
# error
2024-07-22 08:49:23 WARNING (MainThread) [homeassistant.config_entries] Config entry '237496777@qq.com' for tuya integration not ready yet: {'code': 1013, 'msg': 'request time is invalid', 'success': False, 't': 1721649811039, 'tid': '69a5b100482211ef8465920b4cff71e0'}; Retrying in background

# get current time
$ timedatectl
# use NTP to sync time
$ sudo apt-get install chrony; chronyc tracking; timedatectl
No permissions. Your subscription to cloud development plan has expired
2024-08-21 09:14:28 DEBUG (SyncWorker_3) [tuya_iot] Response: {
  "code": 28841002,
  "msg": "No permissions. Your subscription to cloud development plan has expired.",
  "success": false,
  "t": 1724202868185,
  "tid": "..."
}
Ref
Reference
- https://www.home-assistant.io/integrations/tuya/
- https://developer.tuya.com/en/docs/iot/Home_Assistant_Integration?id=Kamcjcbvk2mu8
- https://github.com/tuya/tuya-home-assistant/
- https://github.com/PaulAnnekov/tuyaha