Install
- Download from https://downloads.openwrt.org/releases/23.05.4/targets/x86/64/
- squashf和ext4镜像的差别:squashf文件系统可以实现一键重置功能,但是无法拓展用户空间; ext4文件系统能扩展用户空间,但无法实现一键重置功能。这两种镜像根据具体使用条件选择烧录哪一种。
Ref
常用软件
$ opkg install vim curl git htop wget iperf3 tcpdump fdisk unzip git make gcc tar diffutils grep wget python3 bind-dig scapy losetup luci-app-hd-idle block-mount kmod-fs-ext4 kmod-usb-storage resize2fs cfdisk vim e2fsprogs fdisk kmod-usb-core block-mount kmod-fs-ext4 kmod-usb-storage-extras e2fsprogs blkid parted losetup
Golang
// TODO
Python
Refer to https://openwrt.org/docs/guide-user/services/python
Python 2.7
We are going to use opkg to install Python 2.7. Enter the following command to update your package manager:
opkg update
Now you can install python-light:
opkg install python-light
or the full version of python:
opkg install python
Python3
The light and full version of Python3 are also available via opkg. To install Python3, start by updating your package manager:
opkg update
Now you can install python3-light:
opkg install python3-light
or the full version of python3:
opkg install python3
安全性
Refer to https://swsmile.info/post/openWrt-security/
设置
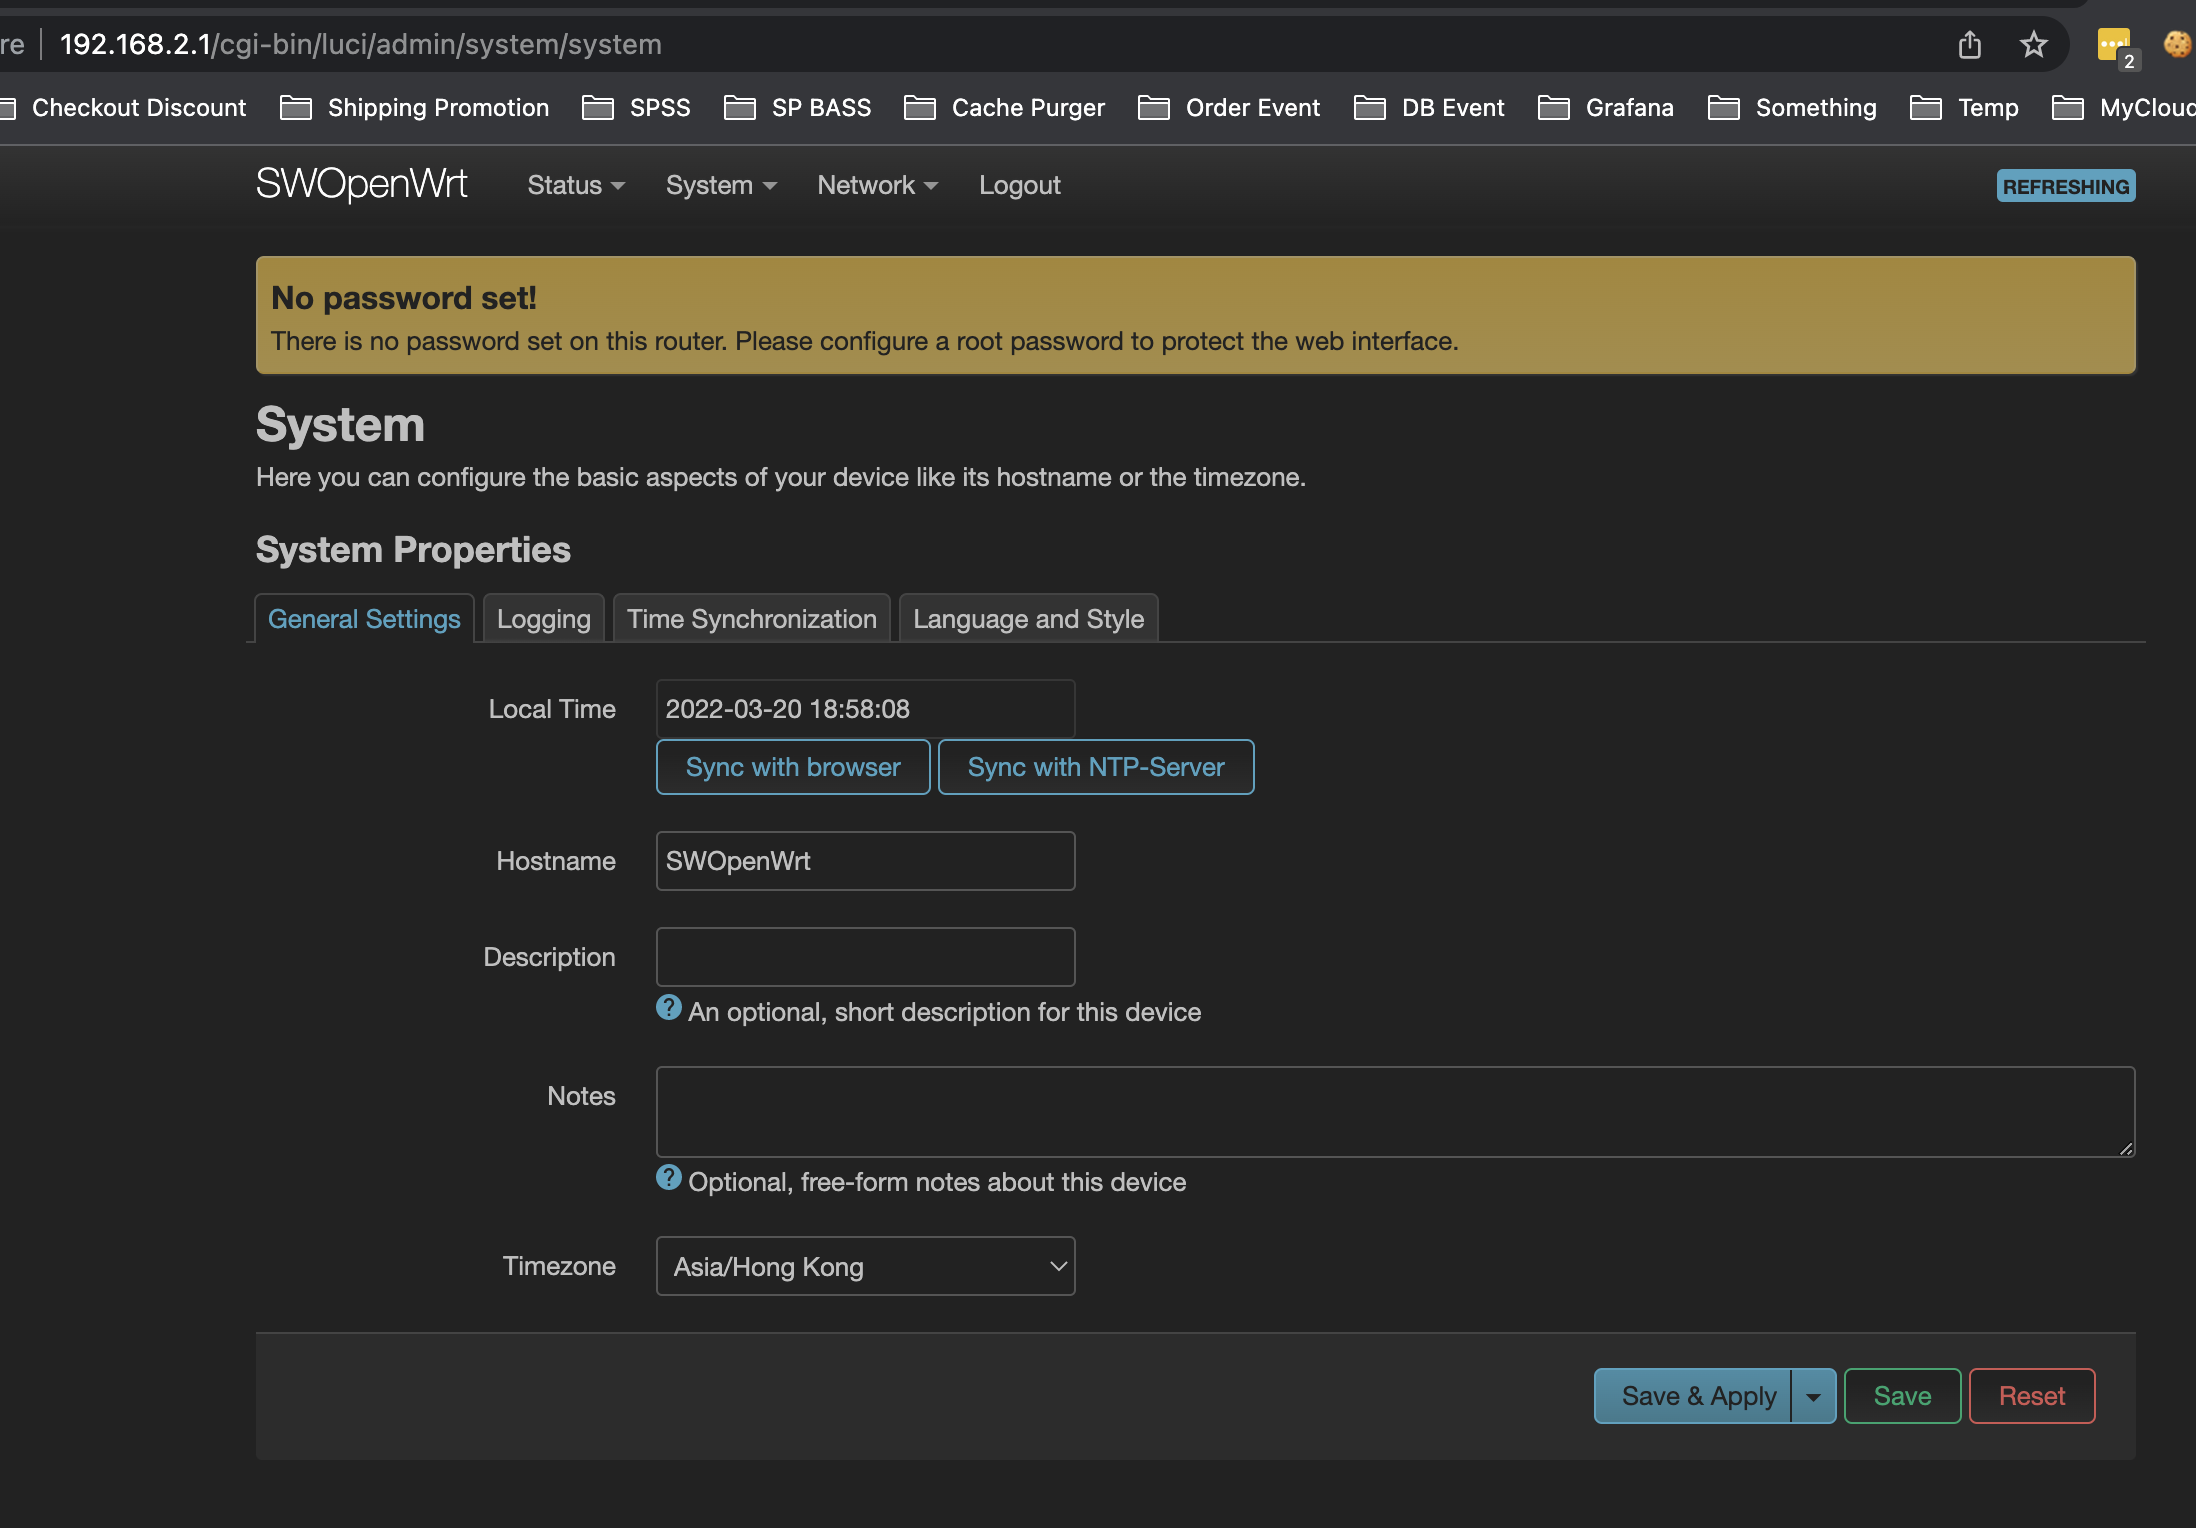
时区

问题
无法 opkg install ...
try --force-depends or --nodeps
操作
查看OpenWrt版本
$ cat /etc/openwrt_release
更新固件
Approach 1 -via mtd
- SSH to the device to flash OpenWrt
- Open a SSH connection to root@192.168.31.1
- Login using credentials provided by the SSH download website
- Flash the latest firmware
- Get the latest firmware, eg:
# cd /tmp; wget <link to firmware-image as shown above> - Check the MTD layout:
# cat /proc/mtd - If you find a line “OS1” go ahead with flashing:
# mtd -r write <firmware-image you downloaded> OS1
- Get the latest firmware, eg:
- After flashing is complete, the router will reboot. When finished you can login using telnet or web-interface on a LAN-connected client to host 192.168.1.1. User: root, no password.
- SSH will be enabled after you set a password (using
passwdor LuCI web interface), telnet will be disabled.
Approach 2 - sysupgrade
$ opkg install curl
$ cd /tmp
$ curl -LO https://downloads.openwrt.org/snapshots/targets/ramips/mt7621/openwrt-ramips-mt7621-xiaomi_redmi-router-ac2100-squashfs-sysupgrade.bin
$ sysupgrade -F openwrt-ramips-mt7621-xiaomi_redmi-router-ac2100-squashfs-sysupgrade.bin
为特定域名指定特定DNS Server (Selective DNS Forwarding)
$ uci add_list dhcp.@dnsmasq[0].server='/pornhub.com/8.8.8.8'; uci commit dhcp; service dnsmasq restart
Or set via LuCI: LuCI → Network → DHCP and DNS → General Settings → DNS forwardings
ref
- https://openwrt.org/docs/guide-user/base-system/dhcp_configuration#selective_dns_forwarding
- https://forum.openwrt.org/t/forced-dns-forwarding-for-a-specific-domain/80596/4
存储空间扩容
https://swsmile.info/post/openWrt-resize-storage-space/
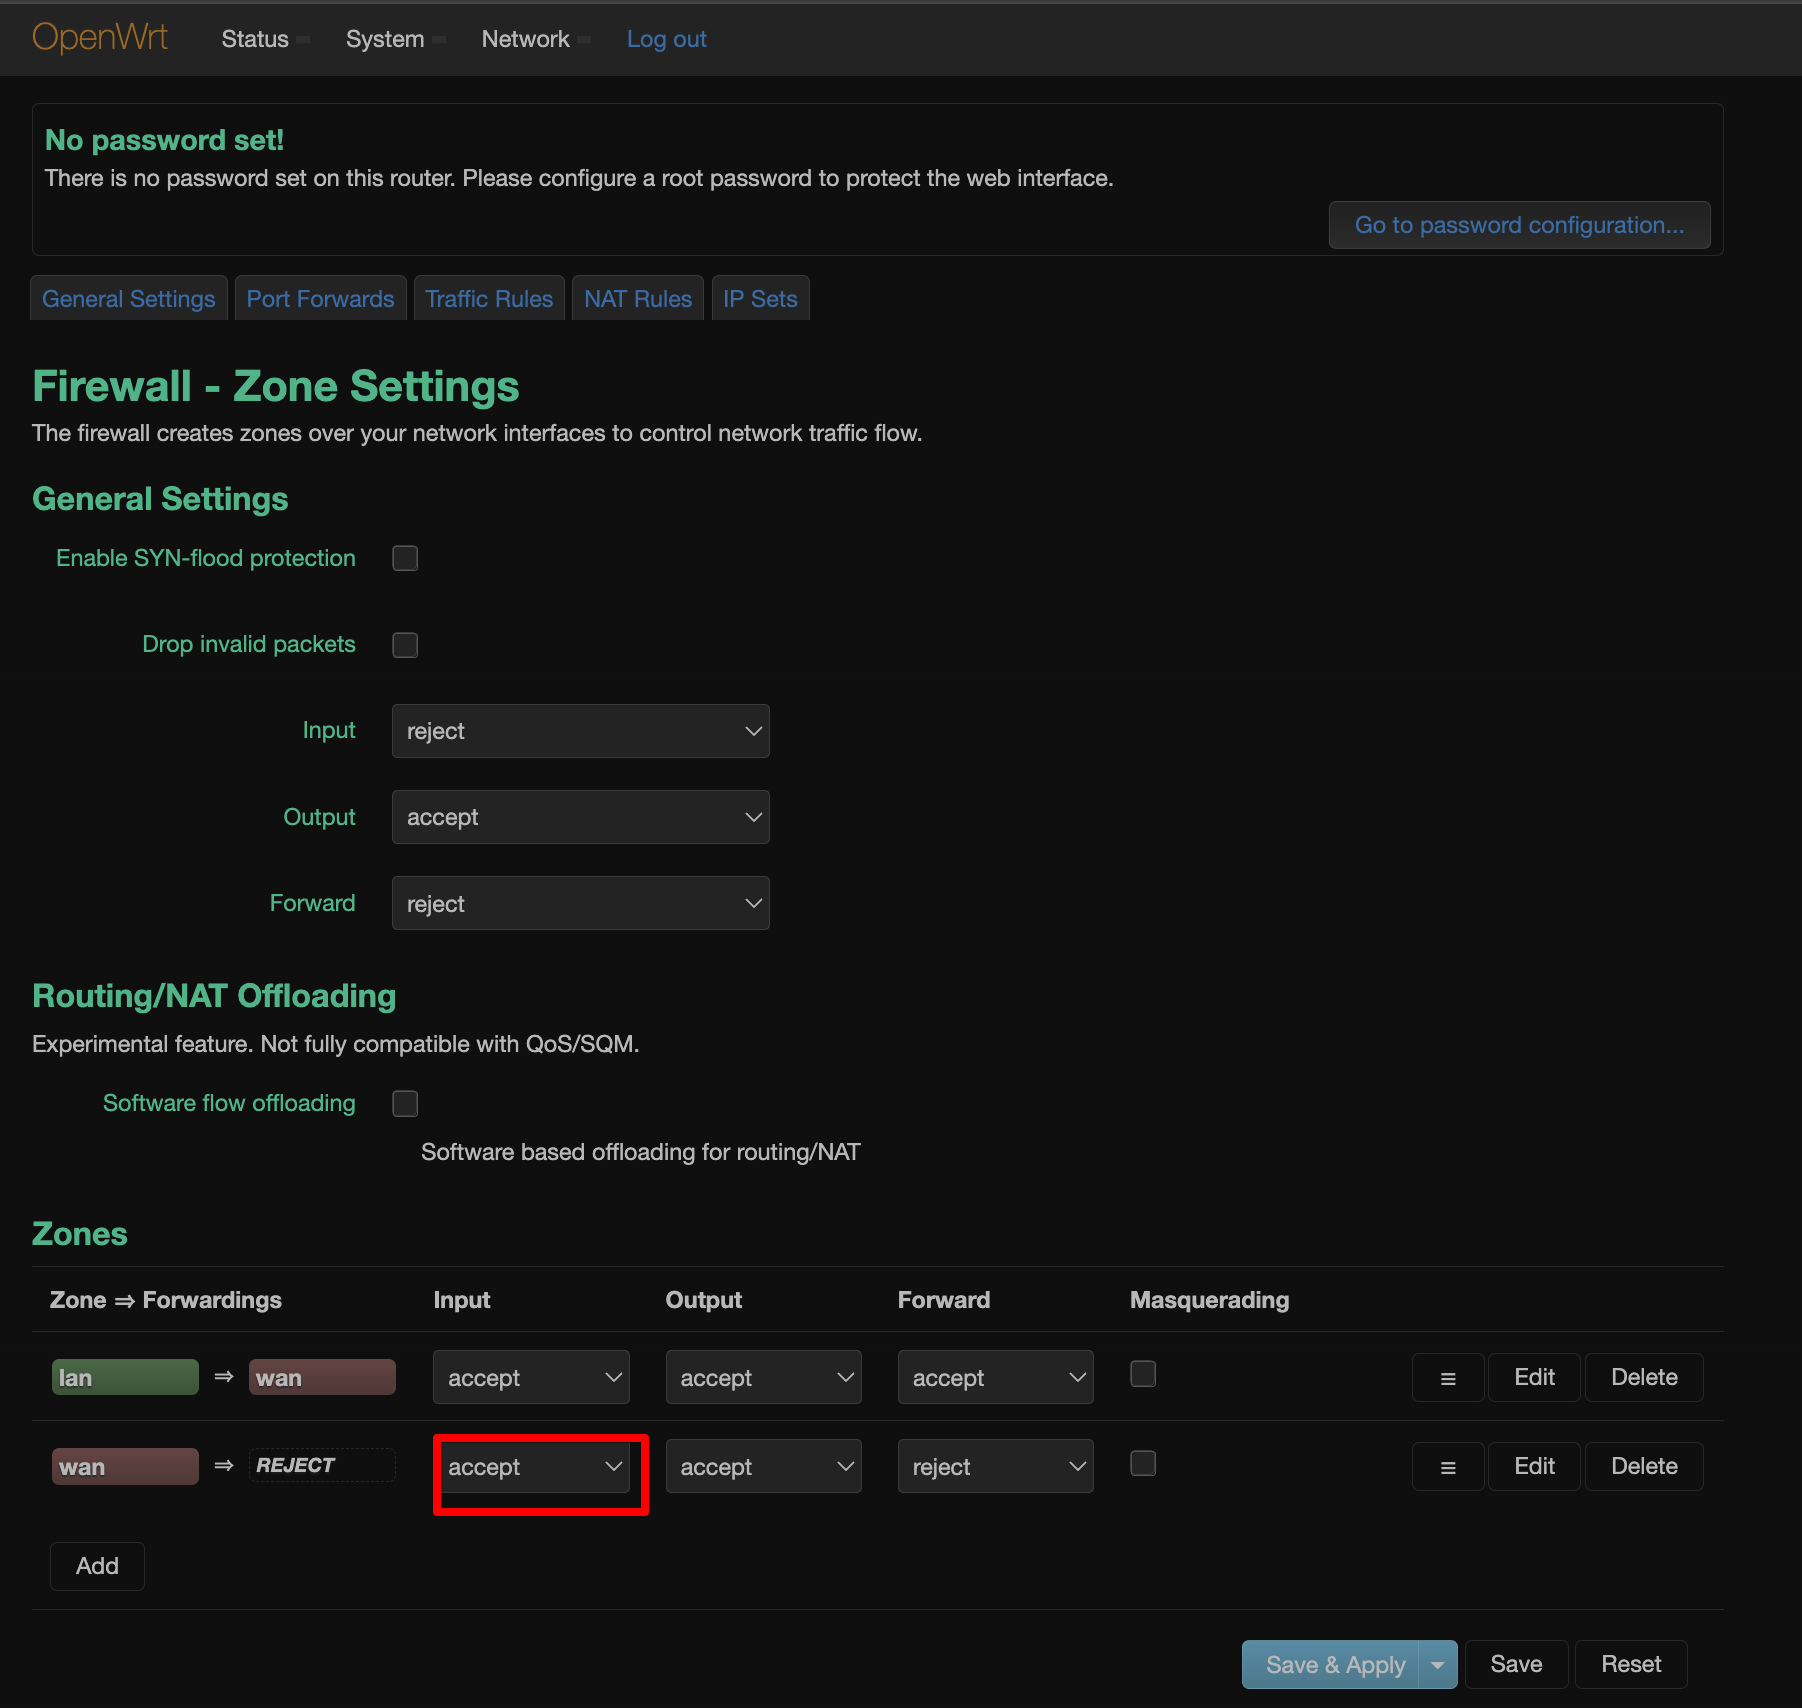
允许 OpenWrt 被 WAN之外的主机访问 LuCI

将OpenWrt设置为交换机(Switch)
Approach 1 - 不使用 WAN 口
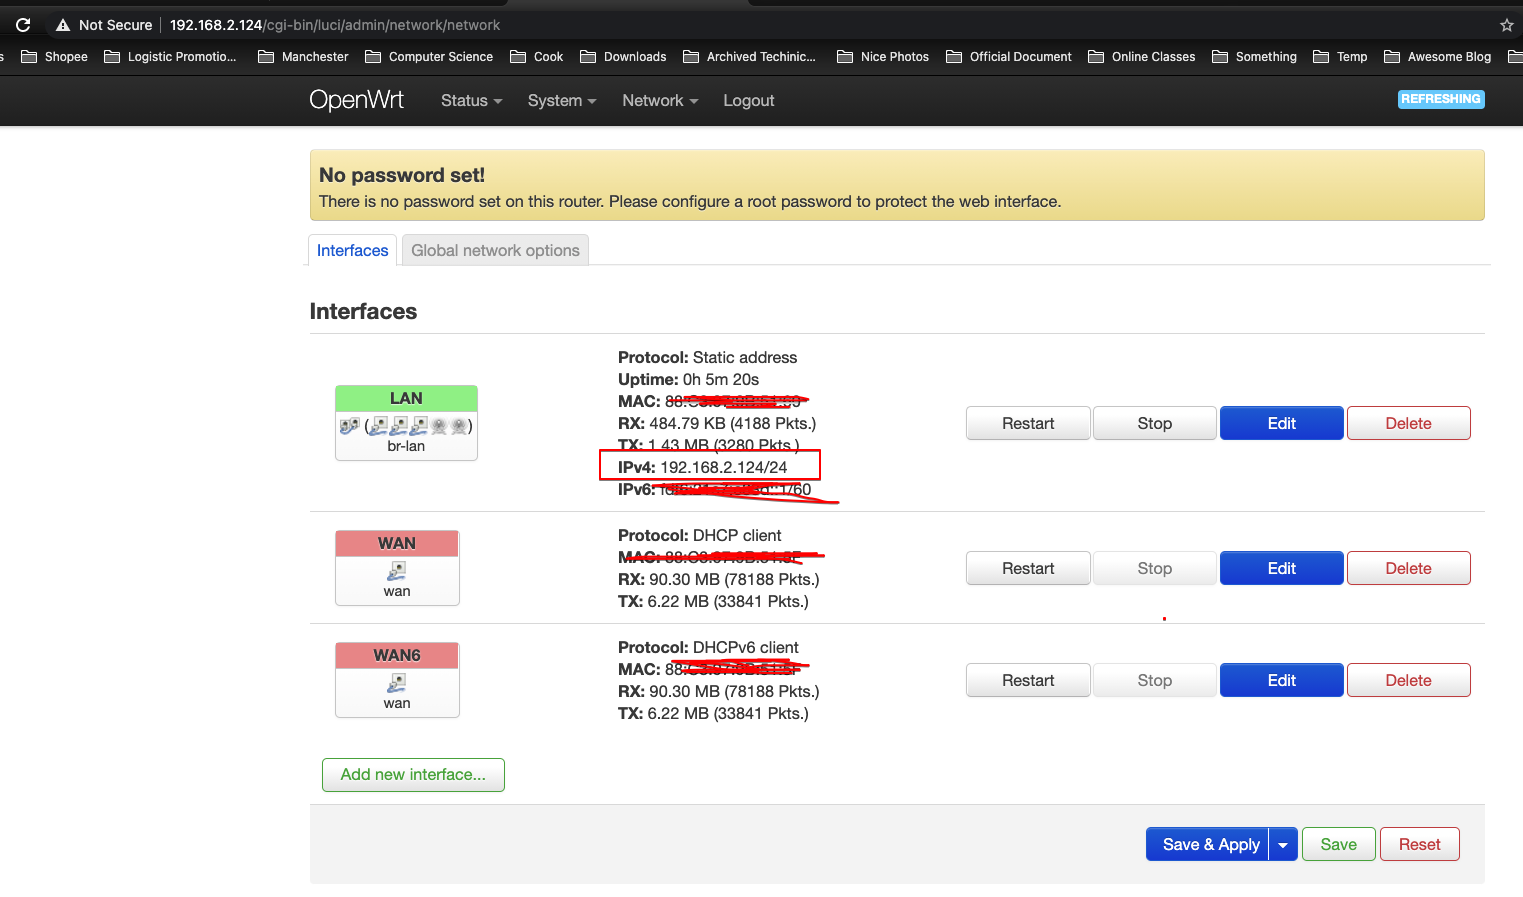
将OpenWrt的 LAN 口的 IP 设置为静态IP(或 DHCP client):

当然,也可以直接修改配置文件(之后需要重启):
$ cat /etc/config/network

config interface 'loopback'
	option ifname 'lo'
	option proto 'static'
	option ipaddr '127.0.0.1'
	option netmask '255.0.0.0'

config globals 'globals'
	option packet_steering '1'
	option ula_prefix '...'

config interface 'lan'
	option type 'bridge'
	option ifname 'lan1 lan2 lan3'
	option proto 'static'
	option netmask '255.255.255.0'
	option ip6assign '60'
	option ipaddr '192.168.2.124'

config interface 'wan'
	option ifname 'wan'
	option proto 'dhcp'

config interface 'wan6'
	option ifname 'wan'
	option proto 'dhcpv6'

$ /etc/init.d/network restart
将外网网线插入任何一个LAN口。
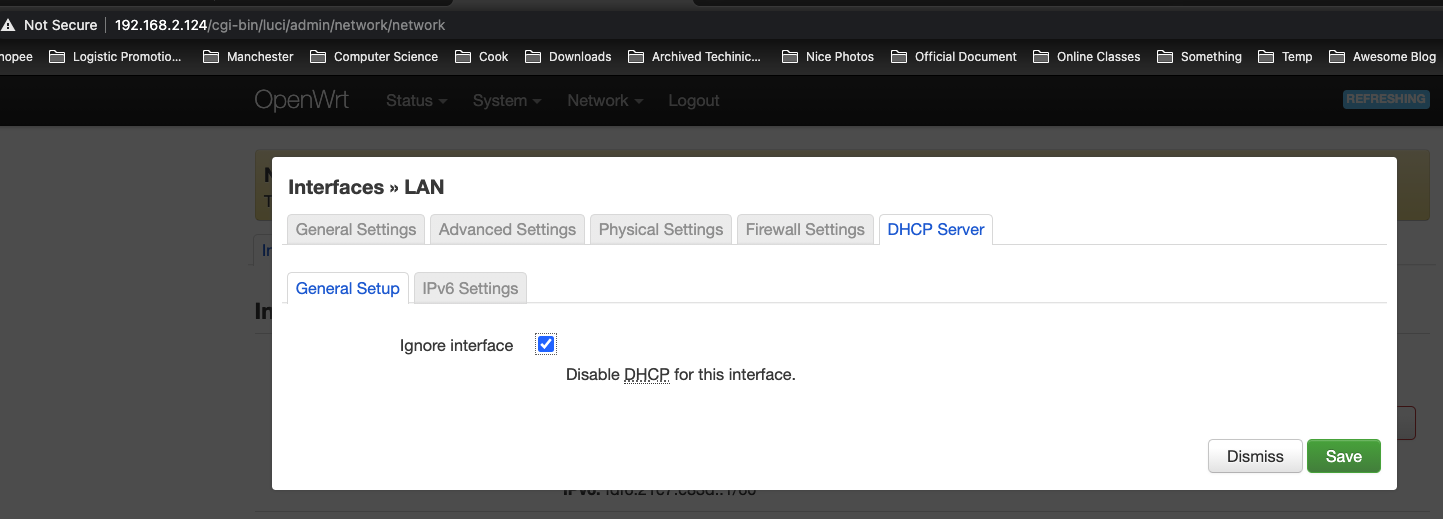
关闭DHCP:

Approach 2 - 不使用 wan 口
流量转发 - Forward An External Port to An External Port
iptables (21.02 and earlier)
My scenarios is:
- The IP of 1.1.1.1 is xx.rwlb.singapore.rds.aliyuncs.com
- My local development env is not able to directly access 1.1.1.1 due to security concerns
- My DBA sets a jump server (2.2.2.2:3306) as a proxy to allow my local development env to indirectly access 1.1.1.1
- However, all middleware addresses are hard coded in my code repo, i.e., 1.1.1.1
- I wanna not modify the code and am still able to connect to all middleware
Idea: map 1.1.1.1:32111 to 2.2.2.2:3306 on kernel level, so that connecting 1.1.1.1:32111 actually is forwarded to 2.2.2.2:3306. As a result, my code doesn’t need any
$ iptables -t nat -A PREROUTING -d 1.1.1.1 -p tcp --dport 32111 -j DNAT --to-destination 2.2.2.2:3306;
# Allow forwarding from the source to the destination
$ iptables -A FORWARD -d 2.2.2.2 -p tcp --dport 3306 -j ACCEPT


# view the current config
$ sudo iptables -L -t nat -nv
Chain PREROUTING (policy ACCEPT 0 packets, 0 bytes)
 pkts bytes target     prot opt in     out     source               destination
    2  1339 DOCKER     all  --  *      *       0.0.0.0/0            0.0.0.0/0            ADDRTYPE match dst-type LOCAL

Chain INPUT (policy ACCEPT 0 packets, 0 bytes)
 pkts bytes target     prot opt in     out     source               destination

Chain OUTPUT (policy ACCEPT 0 packets, 0 bytes)
 pkts bytes target     prot opt in     out     source               destination
    0     0 DOCKER     all  --  *      *       0.0.0.0/0           !127.0.0.0/8          ADDRTYPE match dst-type LOCAL
    0     0 DNAT       tcp  --  *      *       0.0.0.0/0            1.1.1.1              tcp dpt:32111 to:2.2.2.2:3306

Chain POSTROUTING (policy ACCEPT 0 packets, 0 bytes)
 pkts bytes target     prot opt in     out     source               destination
    0     0 MASQUERADE  all  --  *      !docker0  172.17.0.0/16        0.0.0.0/0

Chain DOCKER (2 references)
 pkts bytes target     prot opt in     out     source               destination
    0     0 RETURN     all  --  docker0 *       0.0.0.0/0            0.0.0.0/0

# to verify
$ telnet 1.1.1.1 32111
nftables (22.03 and later)
Ref
Reference
- https://openwrt.org/docs/guide-user/installation/sysupgrade.cli
- https://openwrt.org/toh/xiaomi/xiaomi_redmi_router_ac2100
- https://openwrt.org/docs/guide-user/network/wifi/dumbap#:~:text=Configuration%20via%20OpenWrt%20Web%20Interface%20LUCI,-Of%20course%20you&text=Use%20the%20web%20interface%20to,and%20select%20the%20LAN%20interface.&text=Then%20scroll%20down%20and%20select,set%20everything%20to%20%22disabled%22.
Switch