Background - 认证(Authentication)通过后记下 Cookie
使用postman模拟接口测试的时候,一般都是需要先认证(Authentication)才可以后续业务测试的,否则直接调用接口会报错“Please Login First”。每一个接口用例都去新增一个cookie值太麻烦了,因为都是一样的,所有就想着有没有一种方法可以在进行认证后(同时得到了 cookie),之后发出的每一个 HTTP 包都带上这个 Cookie。
方法 1 - 愚蠢的 Manual Inject
完成认证(Authentication)
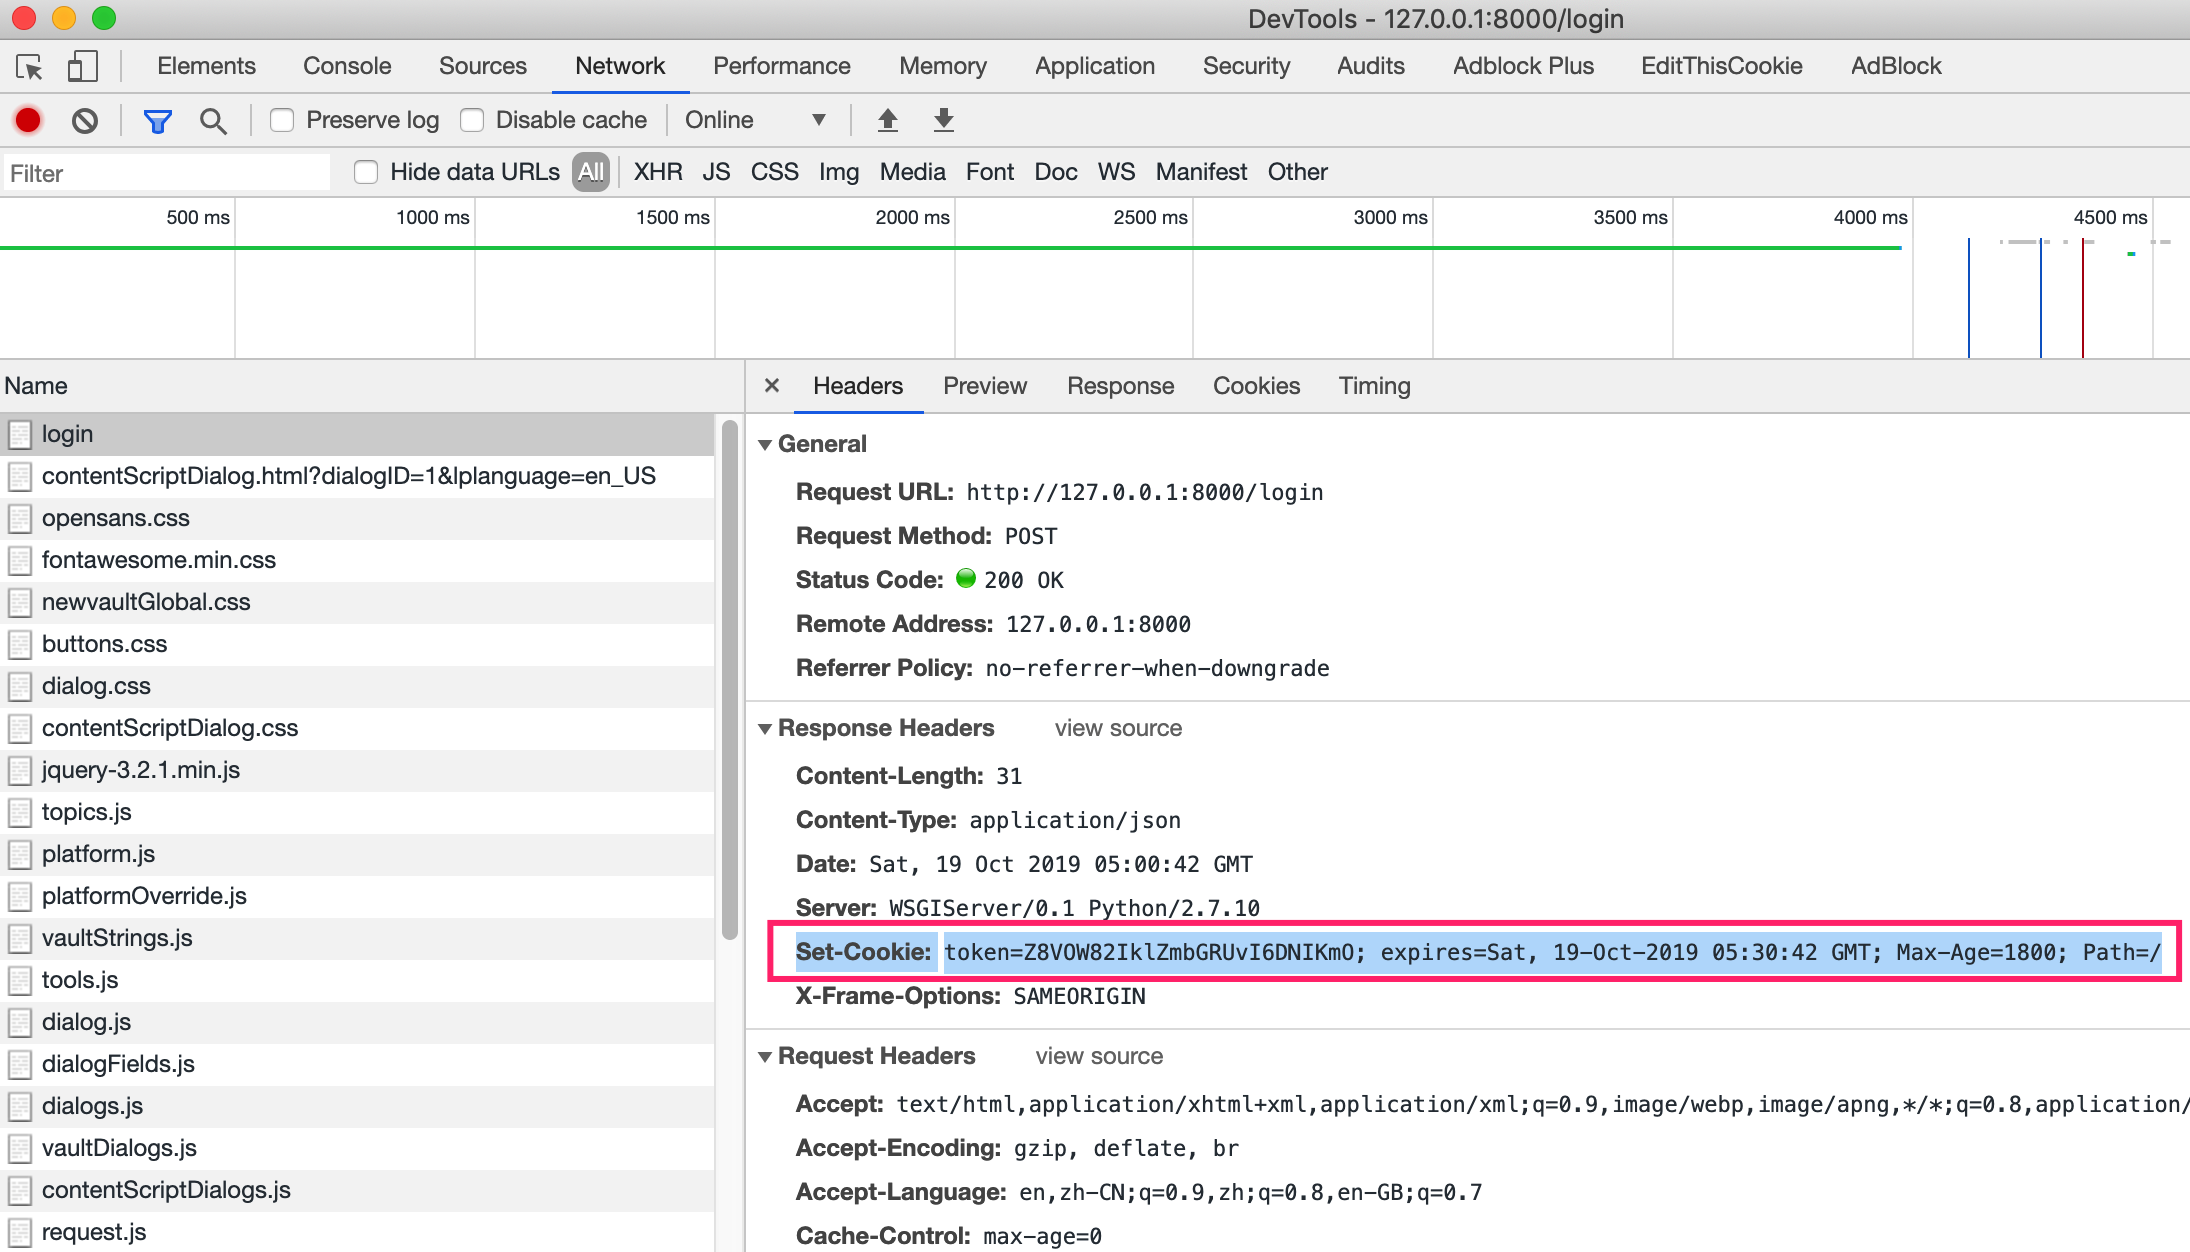
我们需要先调用特定的 HTTP 认证接口,通常需要输入账号和密码(当前也可以是其他相对更复杂的认证机制,比如 OAuth2)。最终我们就得到了一个 token,它存在 Cookie 中:
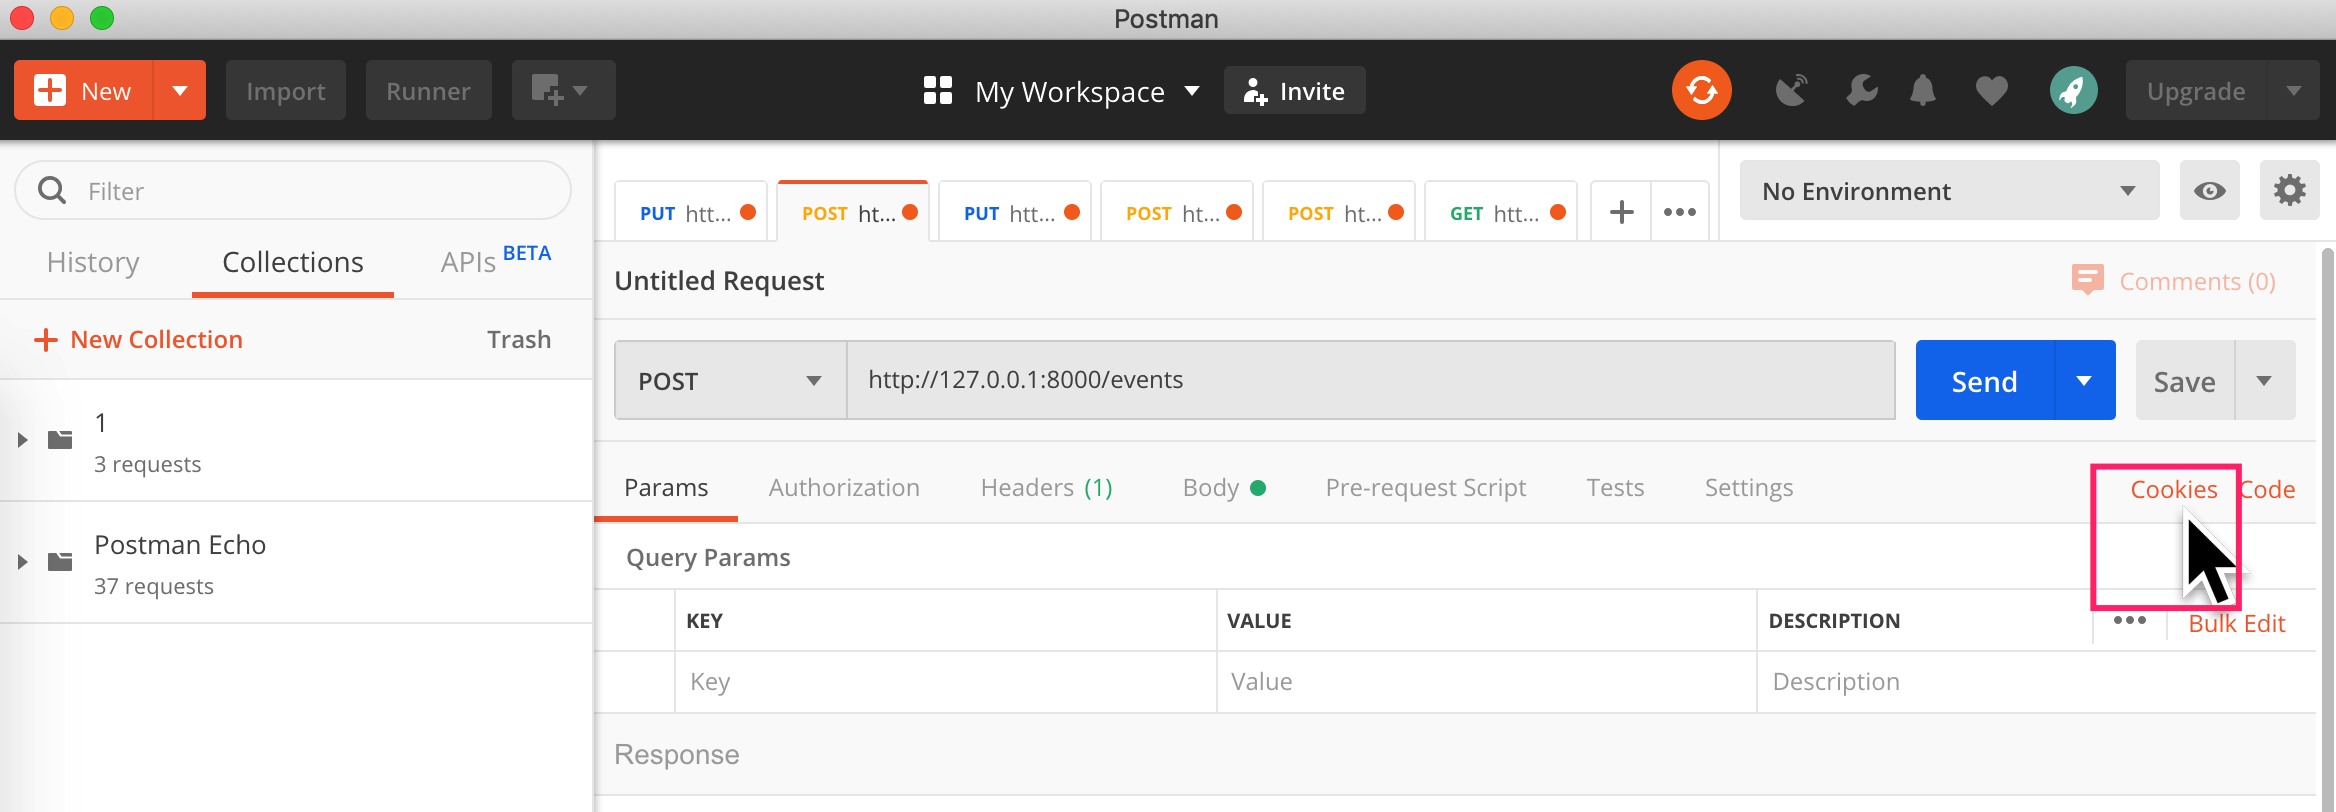
进到 Postman中,我们来设置一下这个 Cookie:
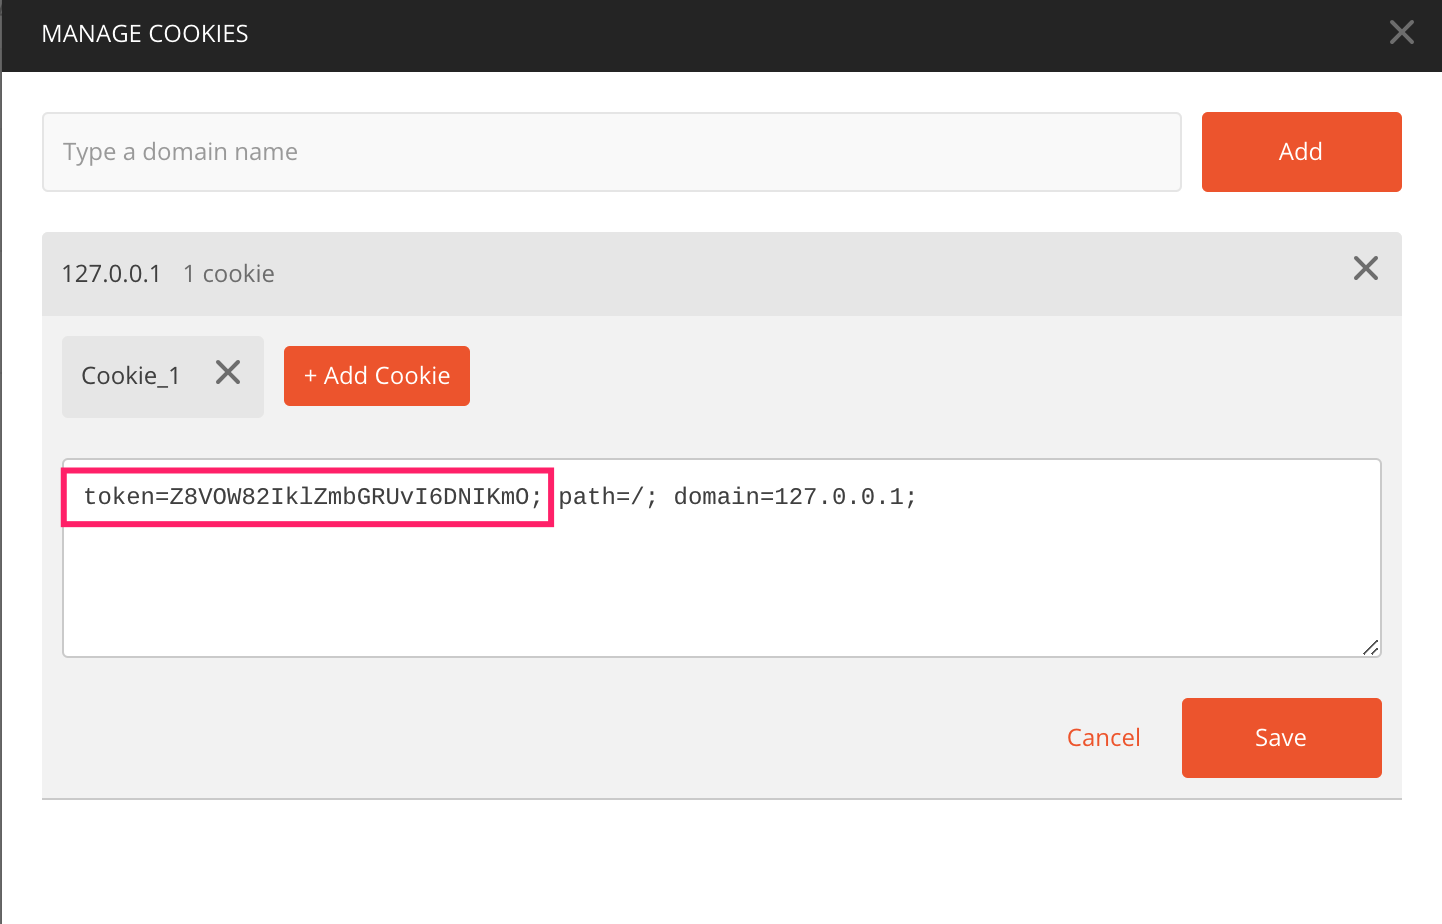
此后,每次访问这个域(127.0.0.1)时,都会带上这个 Cookie。
方法 2 - More Automatic Way
Prerequisite
下载以下工具:
- Postman Interceptor (v0.2.26 and above): https://go.pstmn.io/interceptor-download 2.1k
- Postman App (v7.2.1 and above): https://www.getpostman.com/downloads/ 289
- Interceptor Bridge,macOS版本:OSX 1.3k
安装 Postman Interceptor,它其实是一个 Google Chrome Extension。
安装并启动 Interceptor Bridge:
$ /Users/wei.shi/Downloads/InterceptorBridge_MacOS_1.0.0/install_host
Native messaging host com.postman.postmanapp for 'Postman Native App < > Interceptor integration' has been installed.
$ /Users/wei.shi/Downloads/InterceptorBridge_MacOS_1.0.0/nativeserver-MacOS
打开 Postman:
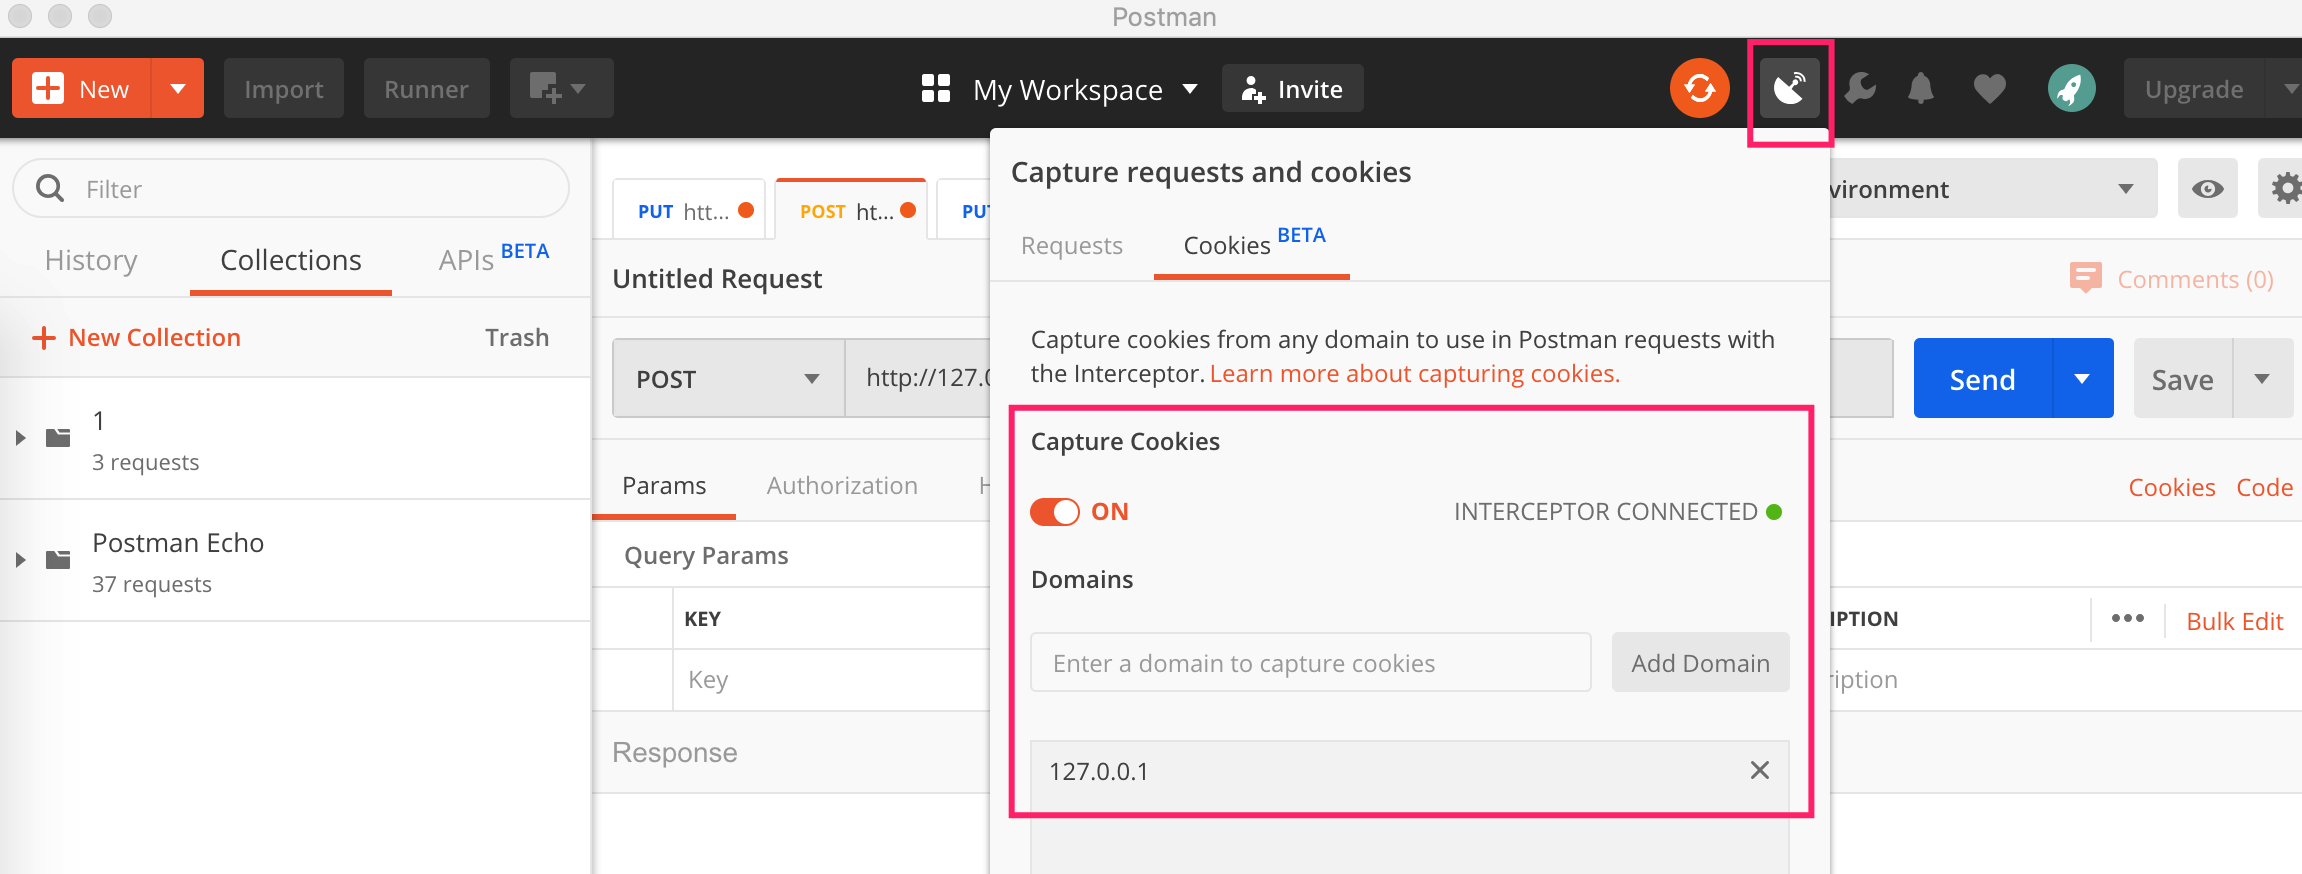
当显示”INTERCEPTOR CONNETED“时,意味着Postman 已经成功通过 Interceptor Bridge 与 Chrome extension Postman Interceptor建立连接了。
我们添加好要测试的 domain,并打开 Capture Cookies 开关。
此后,每次使用Postman发出 HTTP 请求时,Postman 都可以获取到在 Chrome 中的已经存在的 Cookies。
Show Time
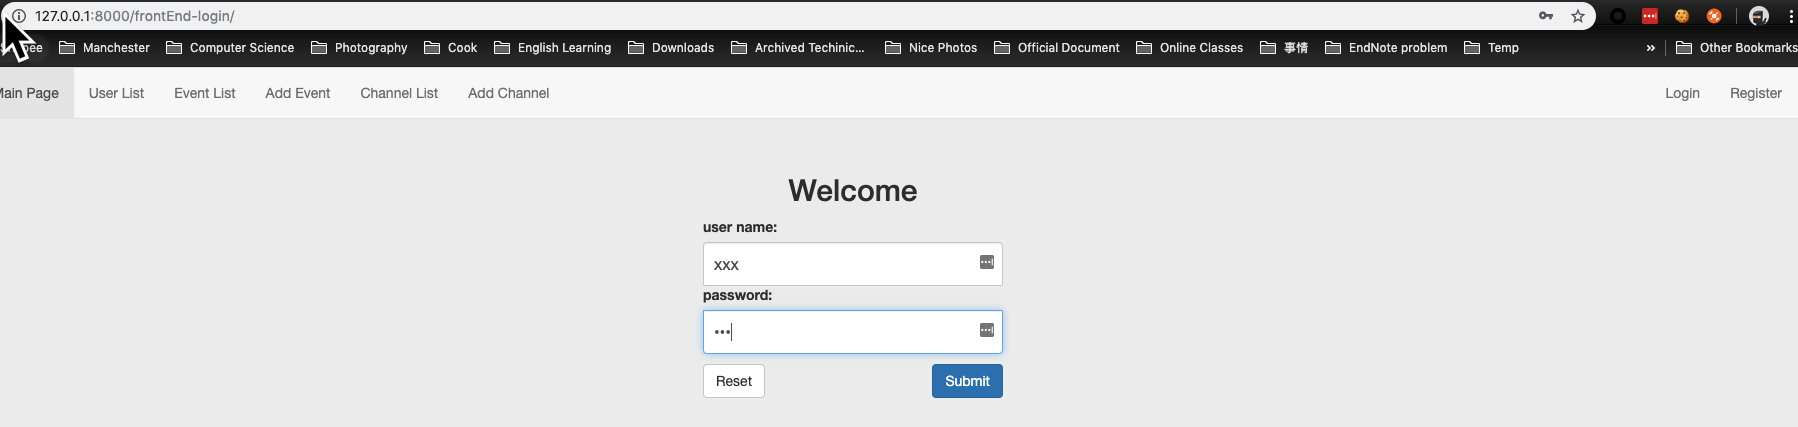
我们先在 Chrome 中完成认证(登录):
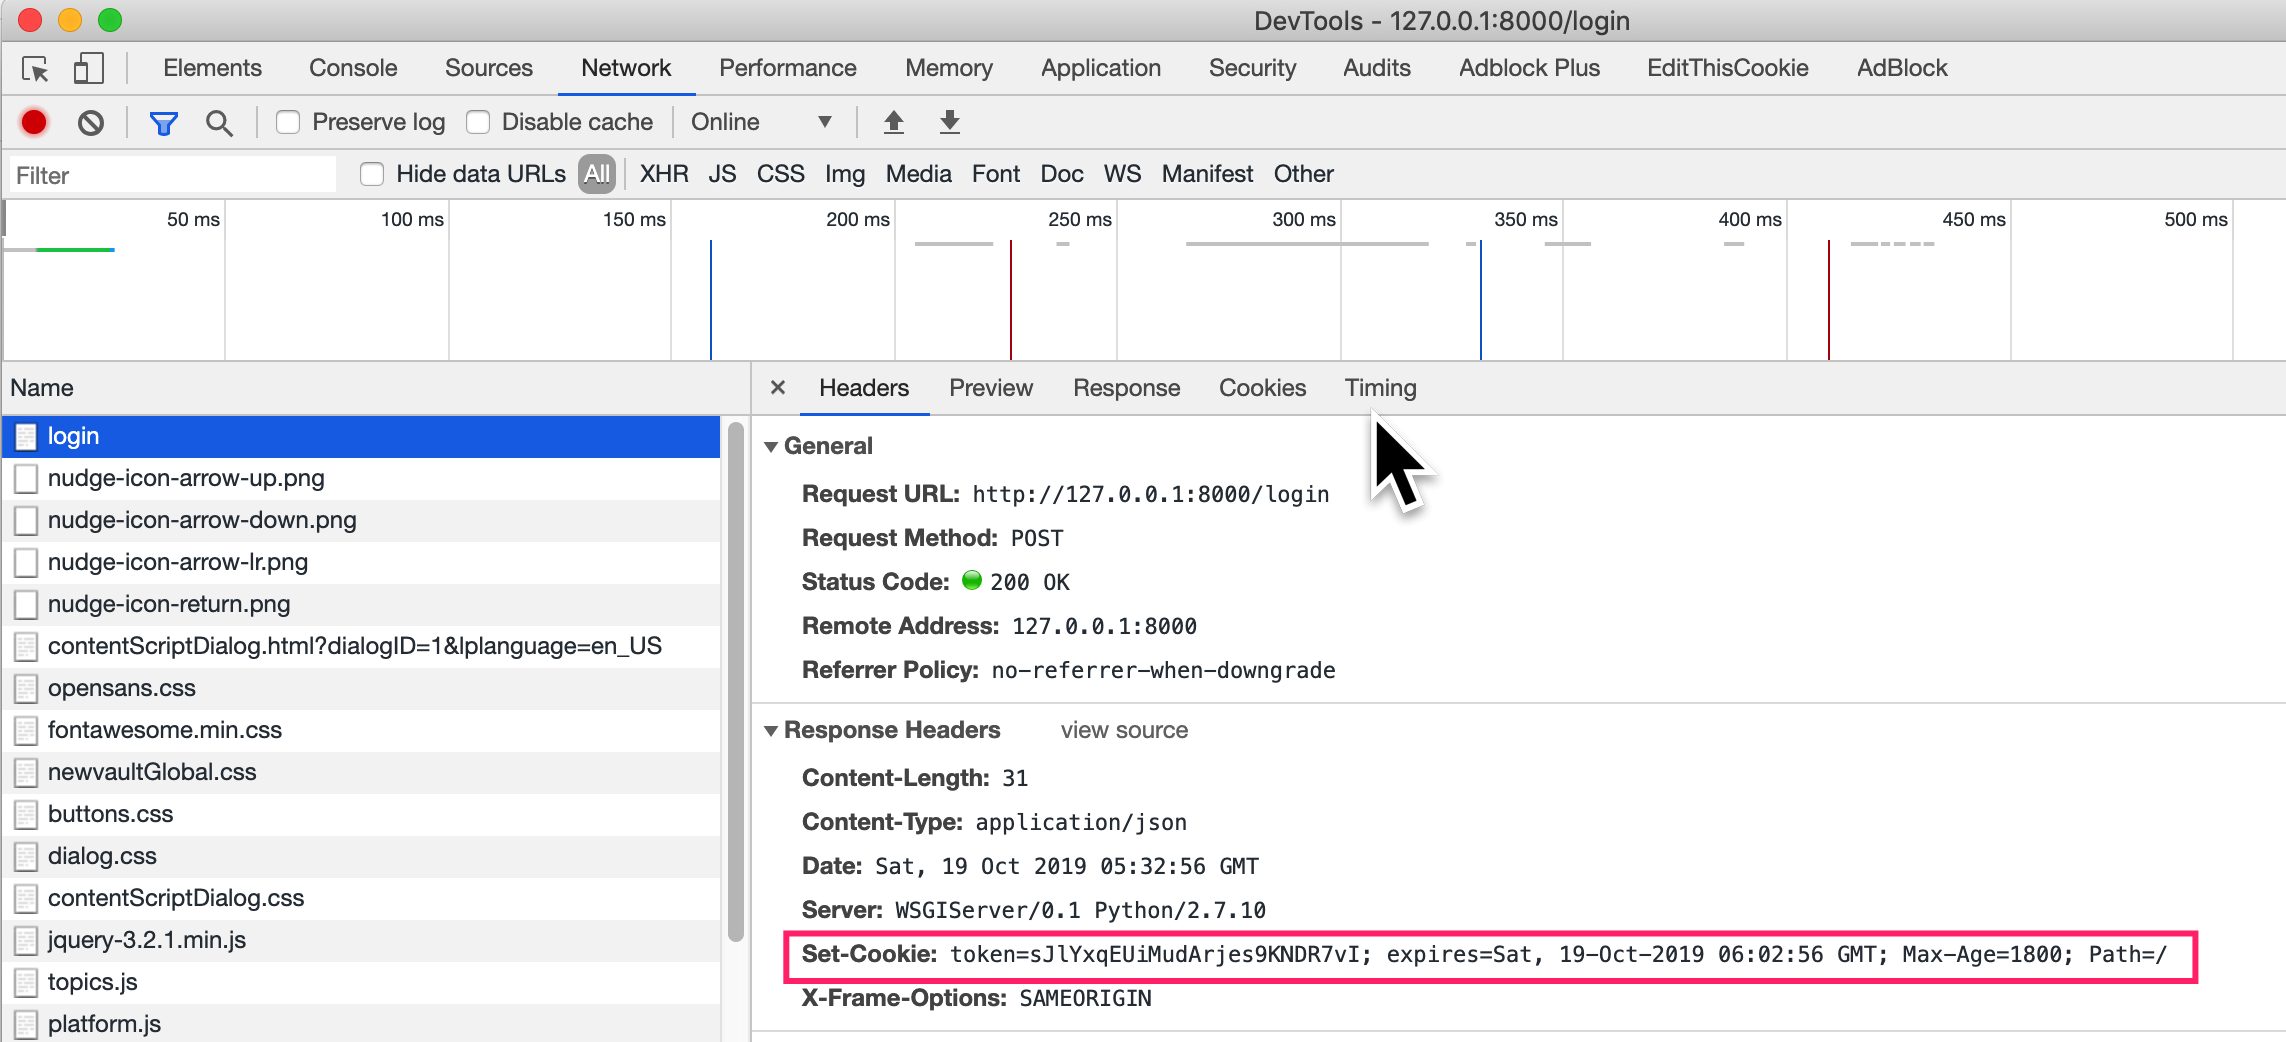
类似地,对应的HTTP Response 中会包含一个 Set-Cookie 域,这就是我们想要的东西。
我们再去Postman 中发一个请求,可以看到,Postman 会自动帮我们带上这个名为 token 的 Cookie:

总结
Procedures
每次测试前:
- 启动 Interceptor Bridge:
$ /Users/wei.shi/Downloads/InterceptorBridge_MacOS_1.0.0/install_host
Native messaging host com.postman.postmanapp for 'Postman Native App < > Interceptor integration' has been installed.
$ /Users/wei.shi/Downloads/InterceptorBridge_MacOS_1.0.0/nativeserver-MacOS
- 在Chrome中,完成认证;
- 进到Postman 中愉快的测试。
Reference
- Interceptor integration for Postman Native Apps - https://community.getpostman.com/t/interceptor-integration-for-postman-native-apps/5290
- postman的cookie使用(绕过登录) - https://blog.csdn.net/loner_fang/article/details/81362261